
How to Finish the Back of an Embroidery Hoop
You chose your pattern, collected all the necessary materials, learned the stitches, and put in the work to complete your project. So what’s next?
You need to display your work of art!

The versatility of working with fabric allows so much room to creatively exhibit your embroidery pieces.
Whether it’s a picture frame, necklace pendant, or simply hanging them over decorative wall hangers, the possibilities are truly endless!

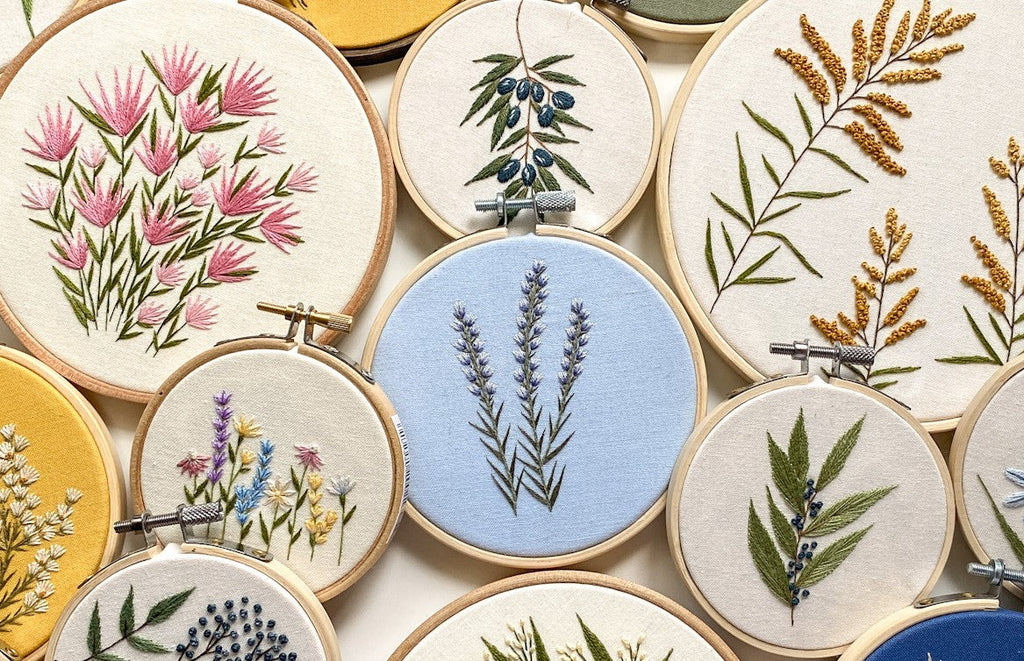
The easiest method for displaying your embroidery pieces has to be leaving them in their hoops!
Not only is your embroidery hoop useful for holding the fabric taut when sewing, but it makes for a wonderful way to frame your artwork once you’re done! There are also multiple colors, designs, shapes, and styles you can choose from that can further accentuate your design.
My personal favorite is round beechwood hoops - not only do I love their smooth and clean look, these hoops are sturdy and easy to hold while stitching. I also never have to worry about the fabric losing tension and wrinkling! This is a major advantage when it comes to displaying your pieces in an embroidery hoop - there’s nothing more frustrating than when your fabric puckers from lack of tension!

Although you can absolutely display your finished piece as is once you’re done stitching, I love to give it more of a finished look by backing my hoop.
This way I can hide all of my thread trails, tidy up the fabric, and feel secure knowing my work won’t accidentally snag on something. If your embroidery piece is a gift or keepsake item to remember a momentous occasion, you can also use the backing to display a sweet note, date, or sign your name.
I’ve tried several different methods like sewing the back using felt and gluing the fabric to the hoop - all of which consumes a lot of time or makes a mess.
This is why I always put off backing my hoops before discovering my current method! I dreaded the amount of time it took to finish my hoops because I simply could not wait to begin stitching my next project - however, this method is by far my favorite and only takes a couple minutes to complete with no extra sewing or gluing necessary.
Here's how to finish the back of an embroidery hoop in 6 quick and easy steps!
You’ll need the following supplies:
☼ finished embroidery hoop
☼ cardstock (I use a 65 lb cardstock from my local craft store)
☼ scissors
☼ pen

Step 1: Trace a circle onto your cardstock using the inner hoop as a guide.

Step 2: Cut out a circle of cardstock and set aside.

Step 3: Trim the fabric all the way around the hoop so there's about 1 inch of excess fabric.

Step 4: Flip the hoop over so the back is exposed and hold your cardstock just above the hoop.

Step 5: Slowly gather a small amount of fabric and carefully tuck it under the cardstock until you've made it all the way around the hoop

Step 6: When all of the fabric is tucked under the card stock, gently press the card stock circle down to secure in place.

And that’s how I like to cover the back of my embroidery hoops!
I love this method because it takes me less than 5 minutes and I don’t permanently mess with the fabric or hoop by using glue. Be sure to give it a try and tell me what you think!
Keep following along for more helpful embroidery tips and tutorials. I'm so excited for you to learn embroidery with me!
Happy stitching!

Leave a comment