
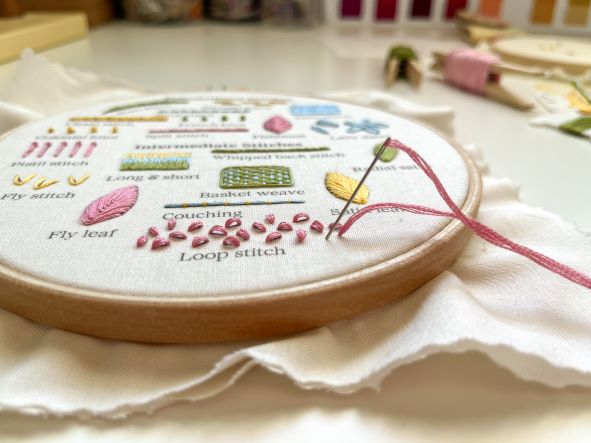
Embroidery Stitch Tutorial: How to do the Chain Stitch
The chain stitch is the most basic looped stitch in the chain stitch family.
This fundamental embroidery technique uses a simple looping stitch to create an interlocking pattern that - you guessed it - resembles a chain! There are so many ways this stitch can be altered, which is why the chain stitch family is so large. Once you have this stitch mastered, you'll find yourself using it, or one of its variations all the time.
Known for being of the oldest and most versatile hand embroidery stitches, the chain stitch dates back to the early days of decorative sewing. With some of the oldest examples coming from ancient Egypt, this classic stitch has shown it's popularity from the beginning. Not only does the chain stitch add a unique detail to any project, but it's looped nature makes stitching along a curve much easier!

The chain stitch is another type of outline stitch that's great for embroidering detail, and can be worked in rows or a single line.
Created simply by bringing the needle up through the fabric and then looping the thread around the needle before bringing the needle back down through the same hole, the chain stitch is an easy way to add beautiful texture to any project. Try using it for cute chunky lettering!
Instructions: How to do the Chain Stitch
For the chain stitch, I generally use 2-3 strands of thread, but feel free to increase or decrease the amount you use to create a more bold or refined look!
Step 1: Bring your needle up through the fabric at the end of the line and back down in the same spot.

Step 2: Pull the thread almost all the way through to the back of the fabric, leaving a small loop on the front. Hold the loop to the side with your finger.

Step 3: Bring your needle up through the loop and pull the thread tight.

Step 4a: Take your needle down where it just came up...

Step 4b: ...leaving a little loop again.

This is the basic movement that you'll use for the chain stitch. Repeat the same process until you reach the end of the line.

Step 5: When you get to the end of your chain, instead of bringing your needle down in the same spot it came up, bring your needle down on the other side of the loop to secure the thread in place.

CLICK HERE to view a video tutorial for how to do the chain stitch, and be sure to give us a follow for future breakdowns!
Happy Stitching!

Leave a comment