7 Essential Embroidery Materials to Kickstart Your Embroidery Journey
One of my favorite things about embroidery is that you only need a few essentials to start stitching. A lot of times you might already have a few supplies on hand! There are so many tools and accessories that can definitely help you along the way, but knowing what those items are can be very overwhelming in the beginning when you’re still learning the basics. Therefore, I challenge you to see what you can find that’s readily available at home before going out and buying all new materials!
"You don't need much to create something you can be proud of!"
At Threaded by Tatum, we’re all about sustainability and believe simplicity is still beautiful - although fun and fancy extras are appealing and I’m all for treating yourself, at the end of the day you don’t need much to create something you can be proud of! Keep reading to find out the minimal supplies necessary for you to begin.
☼ Embroidery Hoops
Embroidery hoops are used to hold the fabric taut when sewing. The tension helps you make cleaner and more consistent stitches, as well as prevents puckering. Although not necessary to begin, I will say they make stitching a lot easier, especially when you’re learning. There are multiple types of hoops - all with the same function, but different modes of tension, shapes, and materials. Choosing which one to use is completely up to you and your preferences when stitching. There is no right or wrong answer; however, the hoops I have grown to love and recommend for beginners are round beechwood hoops. Not only are they lovely in appearance, but they’re smooth, sturdy, and easy to hold. Once you’ve chosen which hoop you like, keep in mind the size of your project. Generally, your hoops should be about 1 inch larger than the design you’re creating; however, anything larger than 8 inches can be difficult to manage. I suggest sticking between 3 and 6 inches, and if your project happens to be bigger, then you can always move the fabric around to center the part you’re working on!


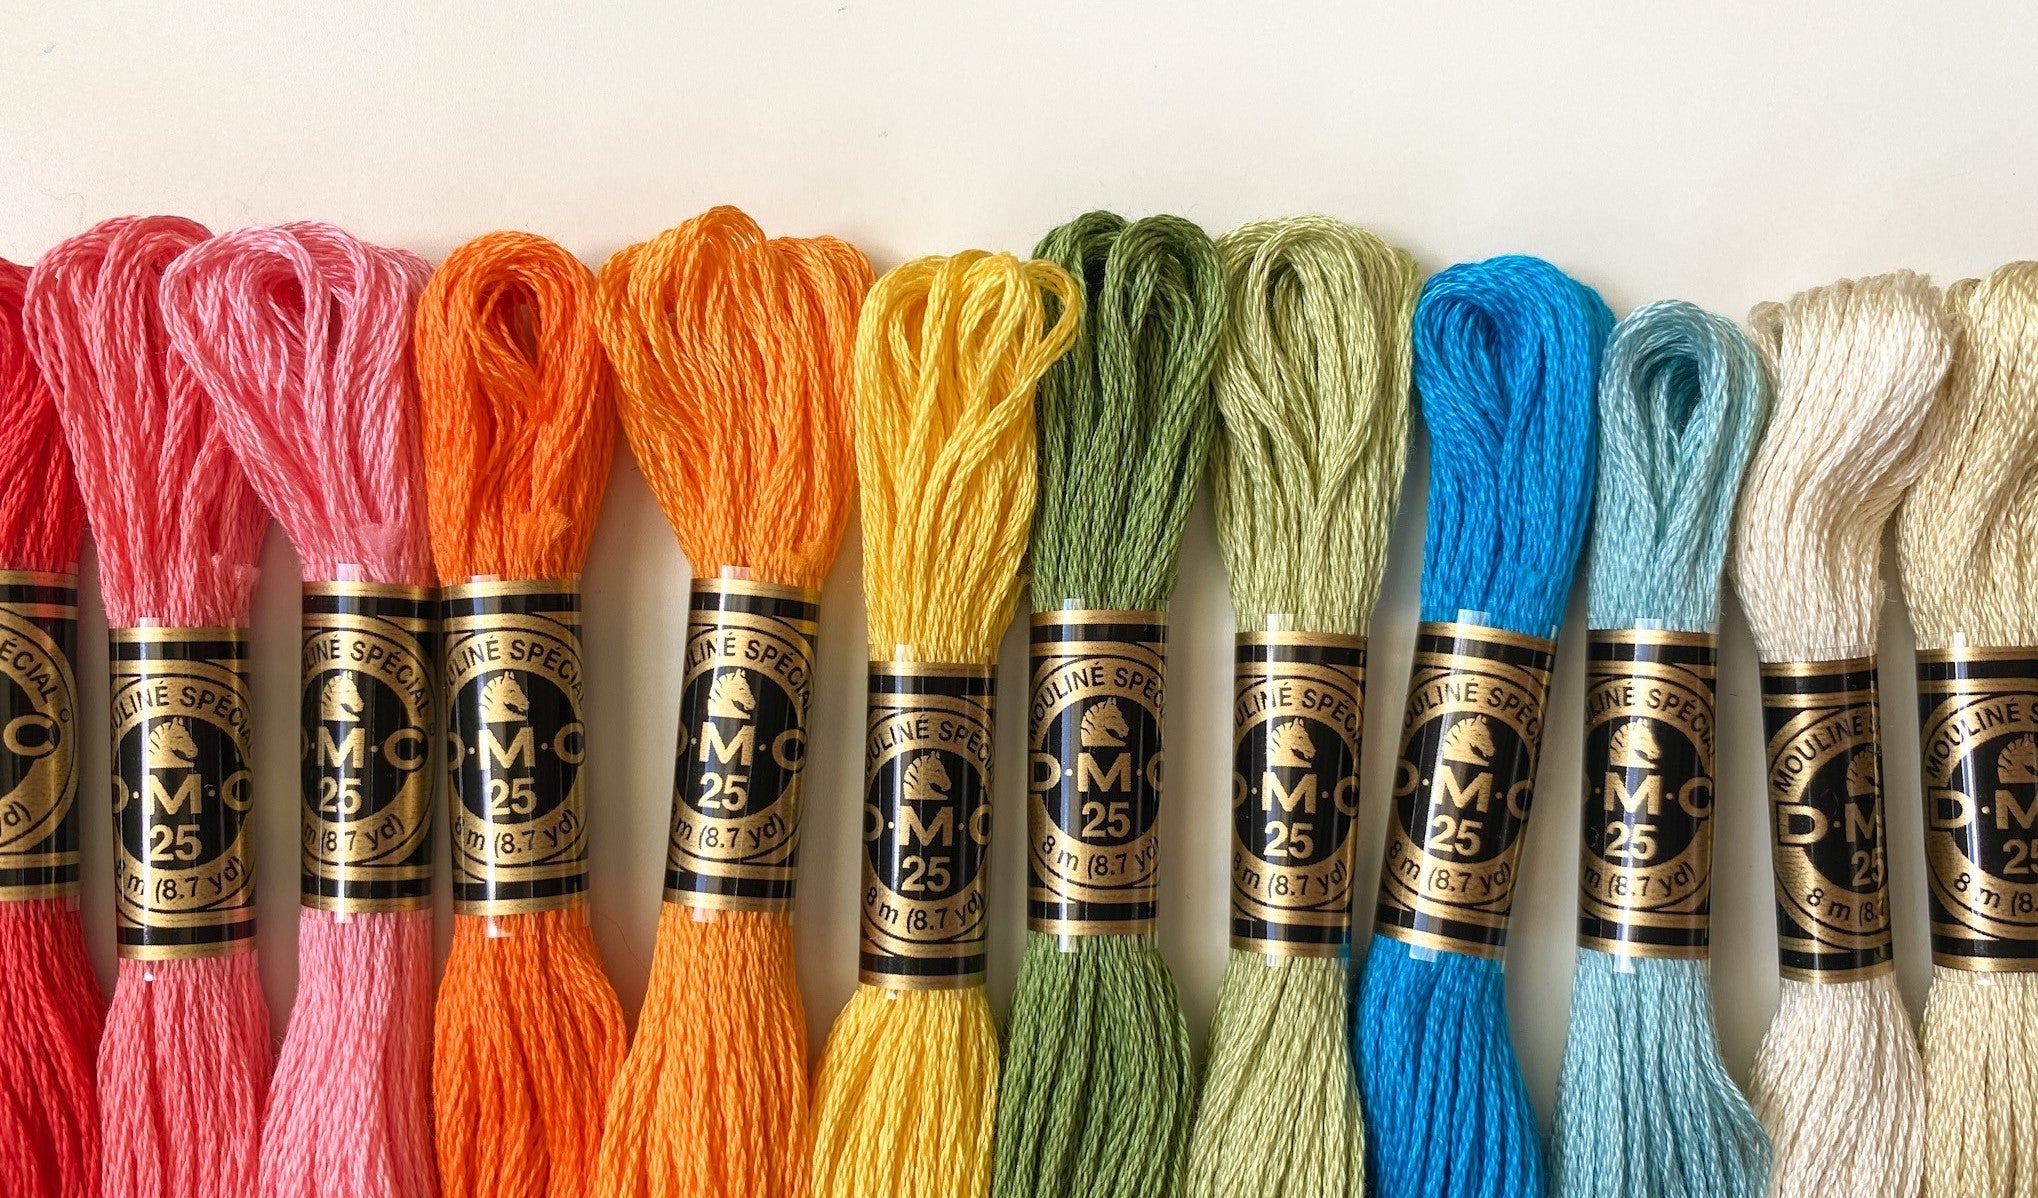
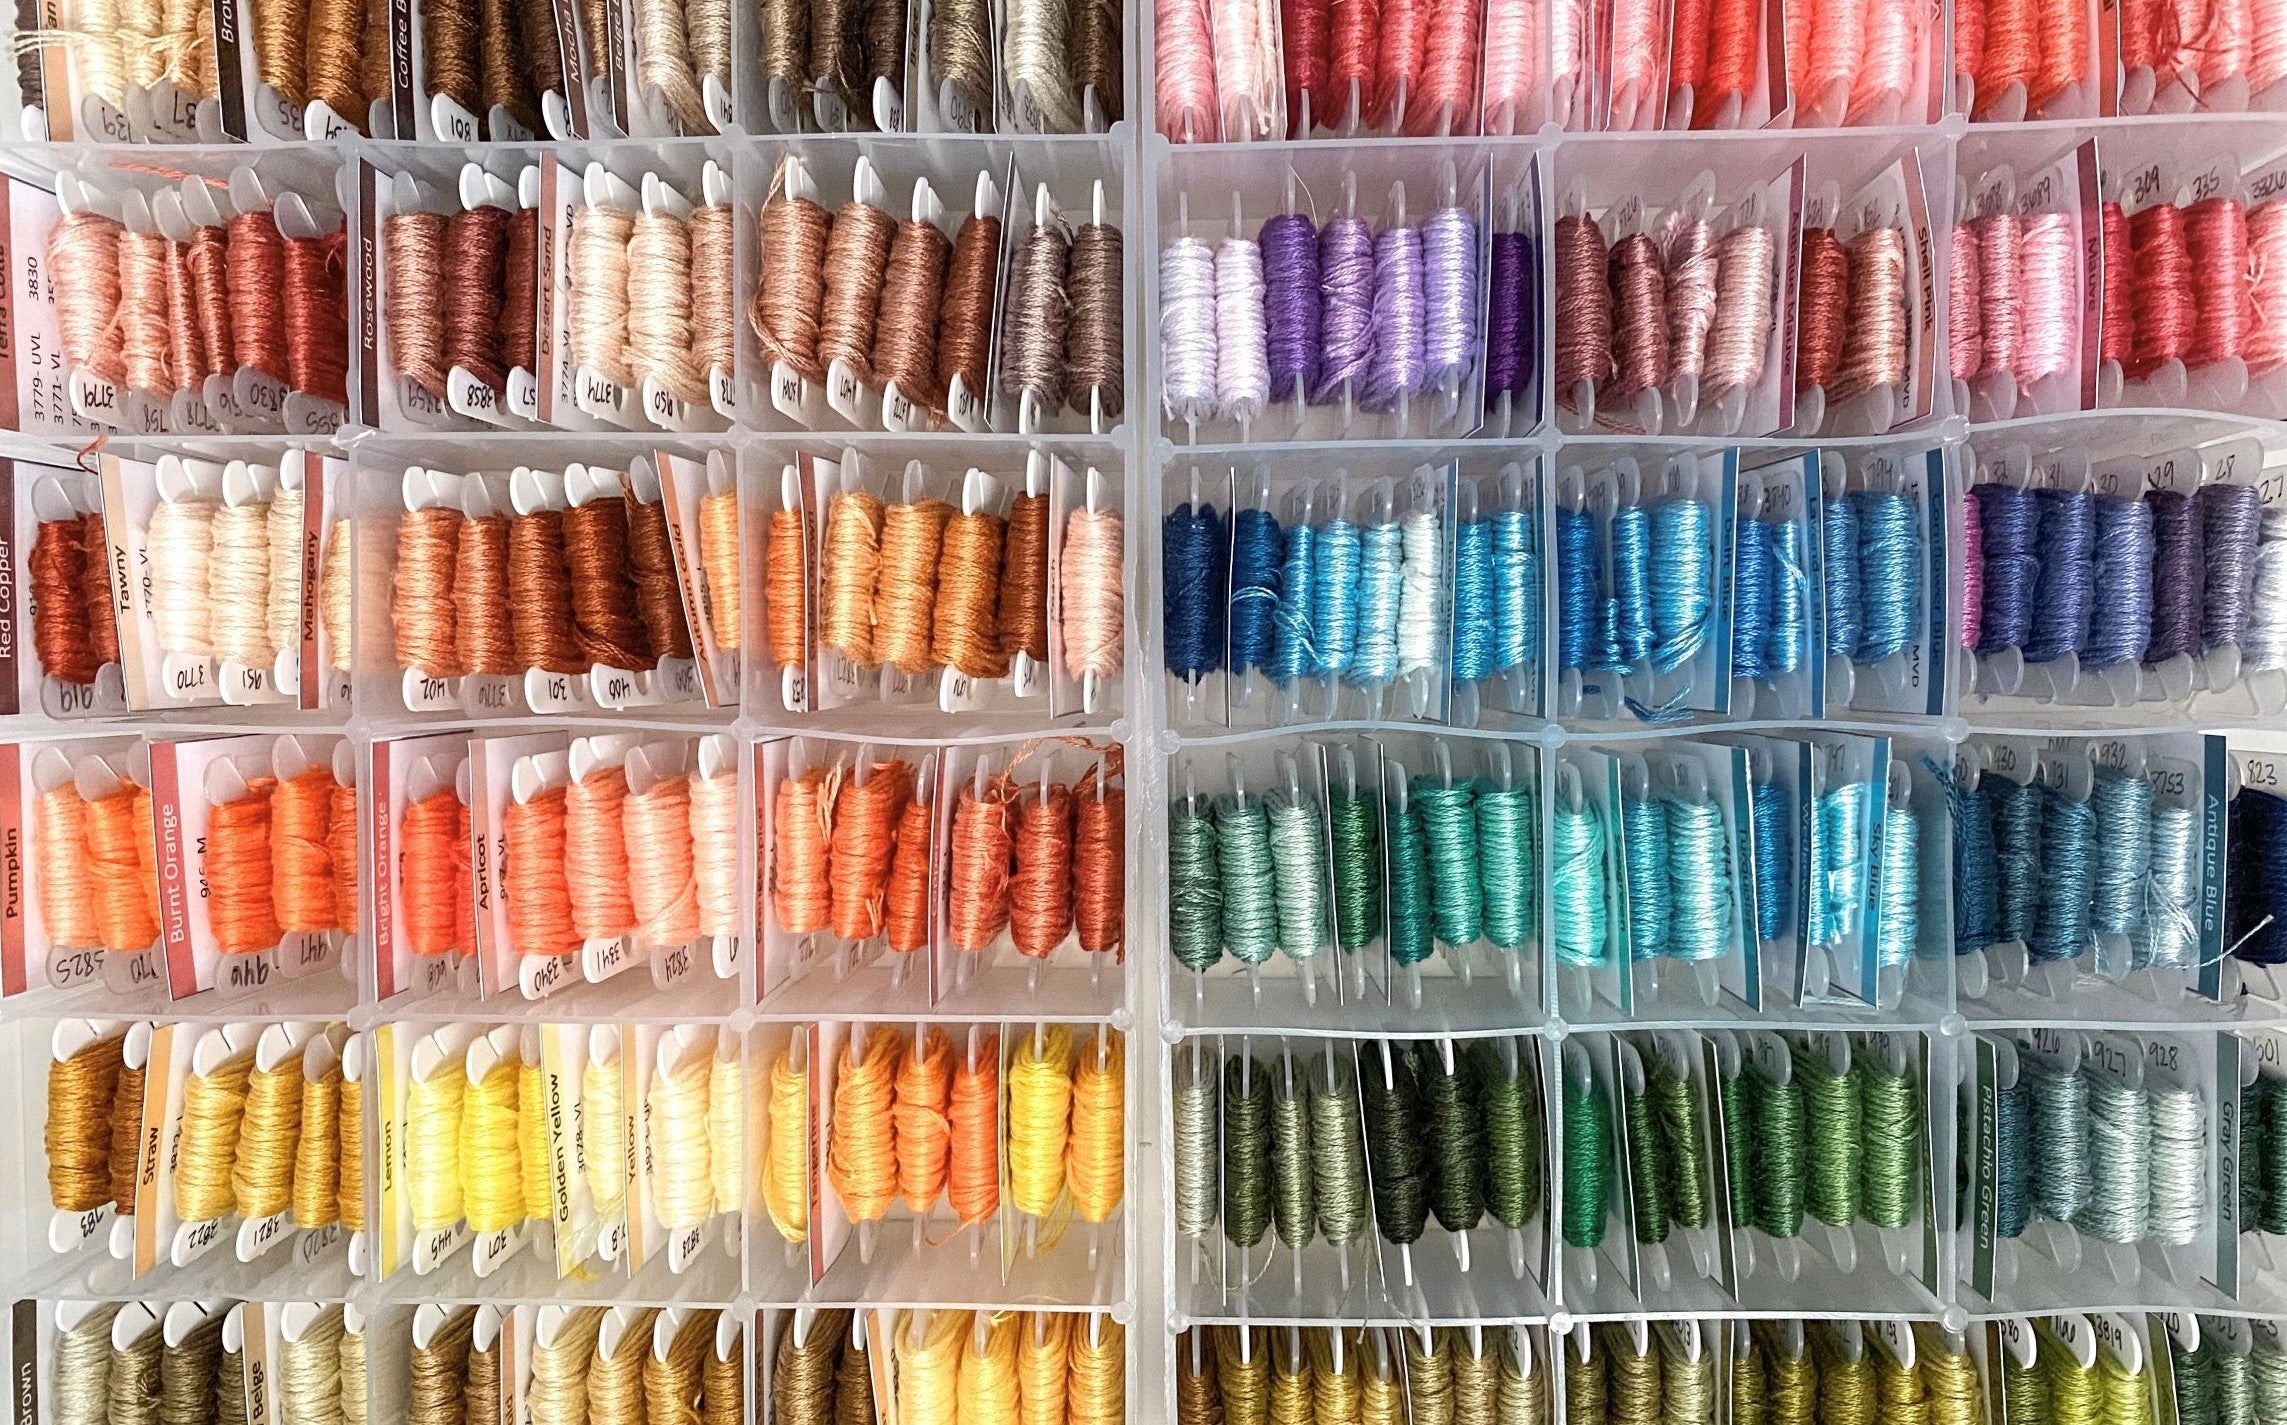
☼ Embroidery Floss
Do yourself a favor and pass up the huge variety pack on Amazon. Get DMC right from the start! I know I’m not giving you much choice in the matter, but there’s a reason this premium thread is the most recommended floss in the world. You’ll find it in just about every craft store, it’s made of cotton, each thread comprises 6 strands so you can customize the thickness of all your stitches, and they have 500 stunning colors to choose from. The quality is just there.
☼ Plastic Bobbins
You'll need a way to store your thread, and bobbins are the best. Although you can keep your thread as the full skein, I highly recommend using bobbins to avoid a knotty disaster. They’re durable, cheap, and my favorite part about them is they come with holes in them so you can keep all the colors you need for a project on a metal ring! This is especially helpful when working on multiple projects. To perfect how to organize your threads, take yourself on over to see my friend Britney from @tidystitch - find her Etsy shop HERE!
☼ Needles
Needles are obviously a must, but there are so many to choose from. In general, the characteristics to look out for are thickness, eye shape, and tip sharpness. For embroidery, make sure your needle has a long oval eye to easily thread multiple strands of embroidery floss and a sharp point so it can comfortably pierce through fabric with a tight weave. You also want a needle thick enough to make it easy for thread to pull through the fabric, but thin enough so it doesn’t leave visible holes behind. I suggest getting a variety pack of needles so you can test out the different sizes, but the needles I mostly use are size 3 or 5!

☼ Fabric
Unless you’re embroidering directly on something, you will need fabric! Although the floss you choose is usually the star of the show, what you’re stitching on is just as important to the final look of your piece. The two most critical things to pay attention to when fabric shopping is what it’s made out of and the thread count. Natural textiles are the most effective and durable materials to work with because their fibers run horizontally and vertically, which is an ideal situation for needles to pass through the fabric effortlessly. With synthetic materials, it’s more common to prick the fibers, which can lead to fray over time. Natural fibers are also soft and comfortable to work with. For thread count, it’s best to stay under 150 so the weave isn’t too tight and your needle can pass through easily. My choice in fabric will always be Kona cotton. It has a nice even weave, doesn’t stretch, and is lovely to stitch on! You can find it at a lot of craft or fabric stores, and it comes in so many beautiful colors!


☼ Heat Erasable Pen
The final tool you will need to get started will be a way to transfer your design onto fabric, and the simplest way to do this is by using a heat erasable pen. Just trace your pattern, get to stitching, and simply apply heat when you’re done! You can do this with an iron, hair dryer, or by tossing your project into the dryer; and the ink will disappear completely! My go-to heat erasable pen is the Pilot FriXion ColorSticks in black.

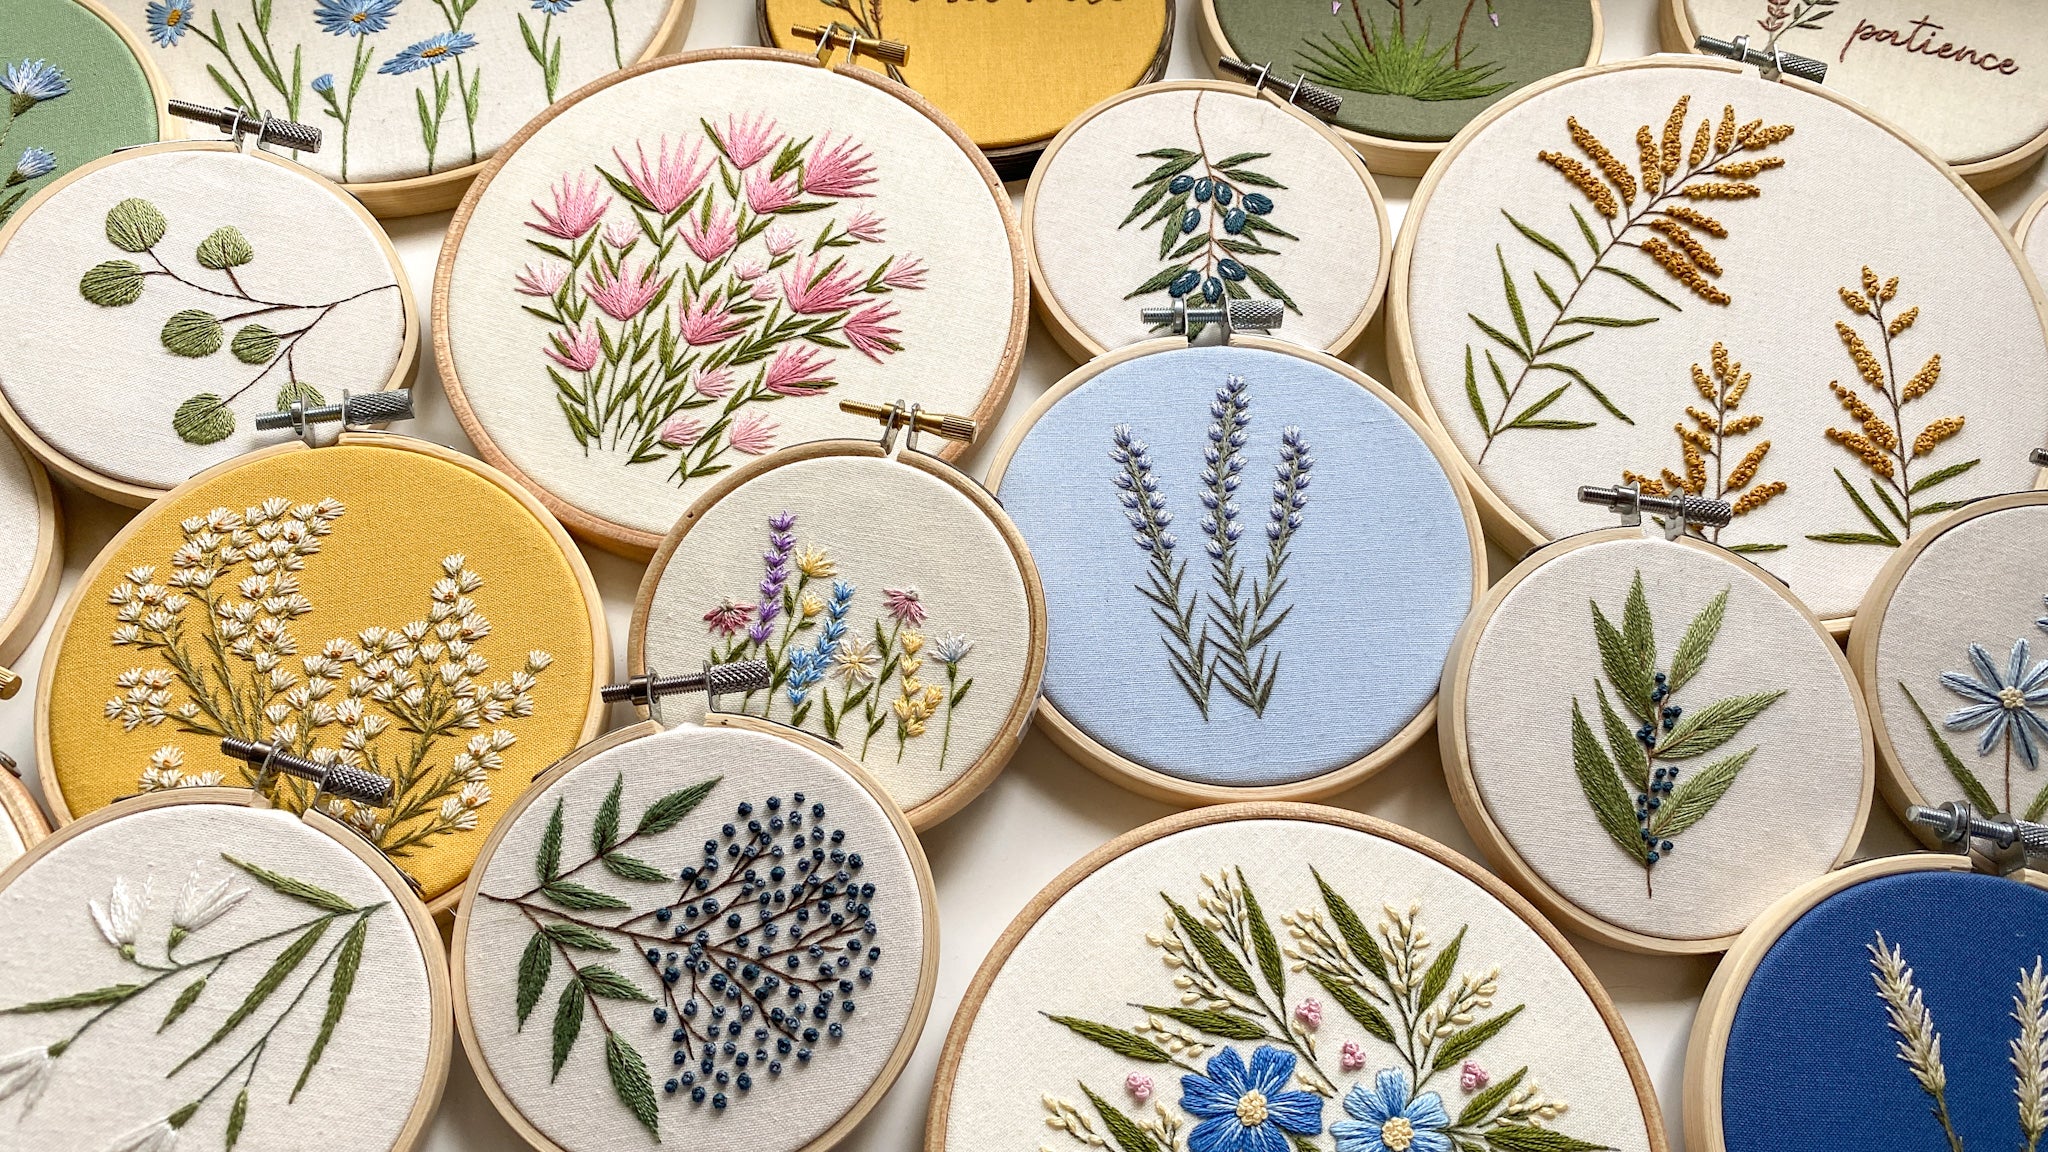
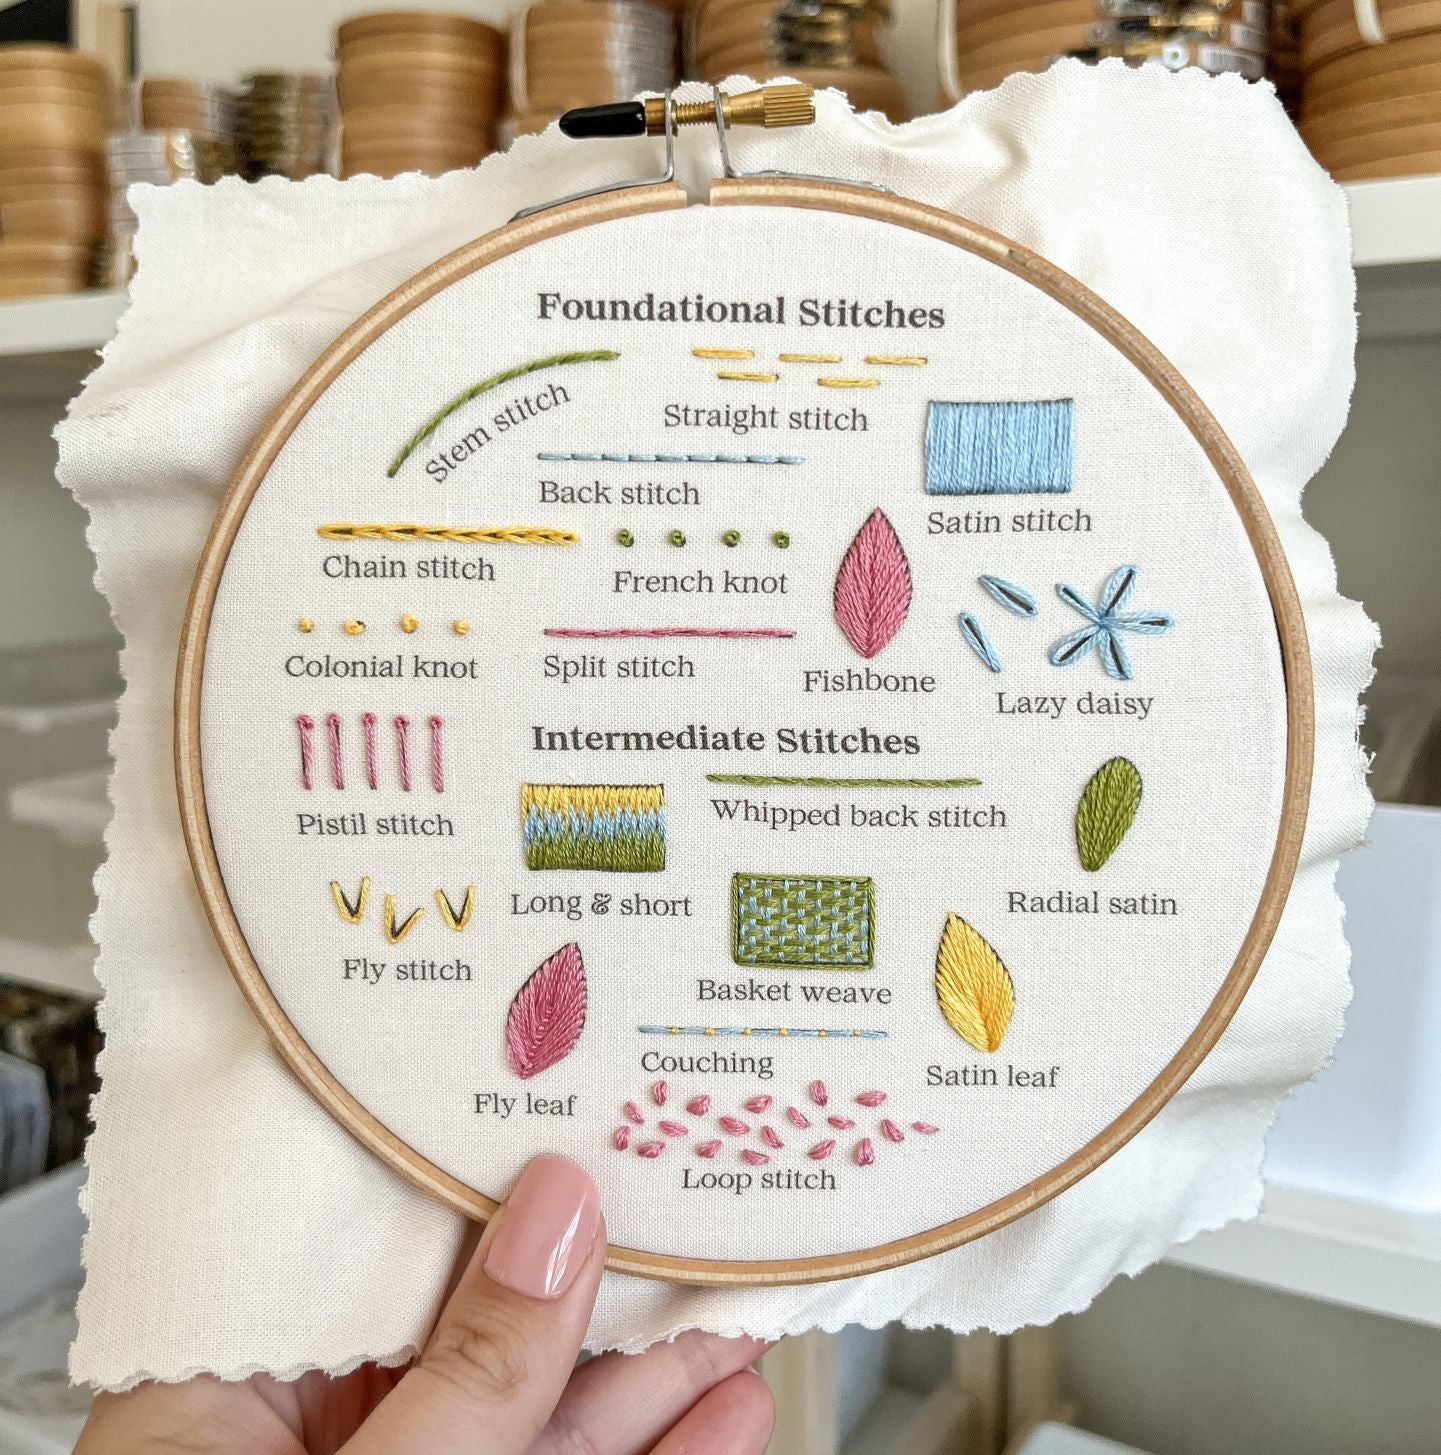
☼ Stitch Sampler Fabric
This last part is probably the most helpful thing for beginners, and in my opinion, the best way to learn the foundational stitches that will kickstart you into your embroidery journey! It includes 10 basic stitches and 10 intermediate stitches, with detailed video instructions for each one! Not only will you be taught exactly how to execute 20 different stitches, but you’ll have the printed outline right in front of you to try it yourself! You can only find this last item in my shop, but the tutorials will always be readily available online on my Instagram @ThreadedbyTatum!
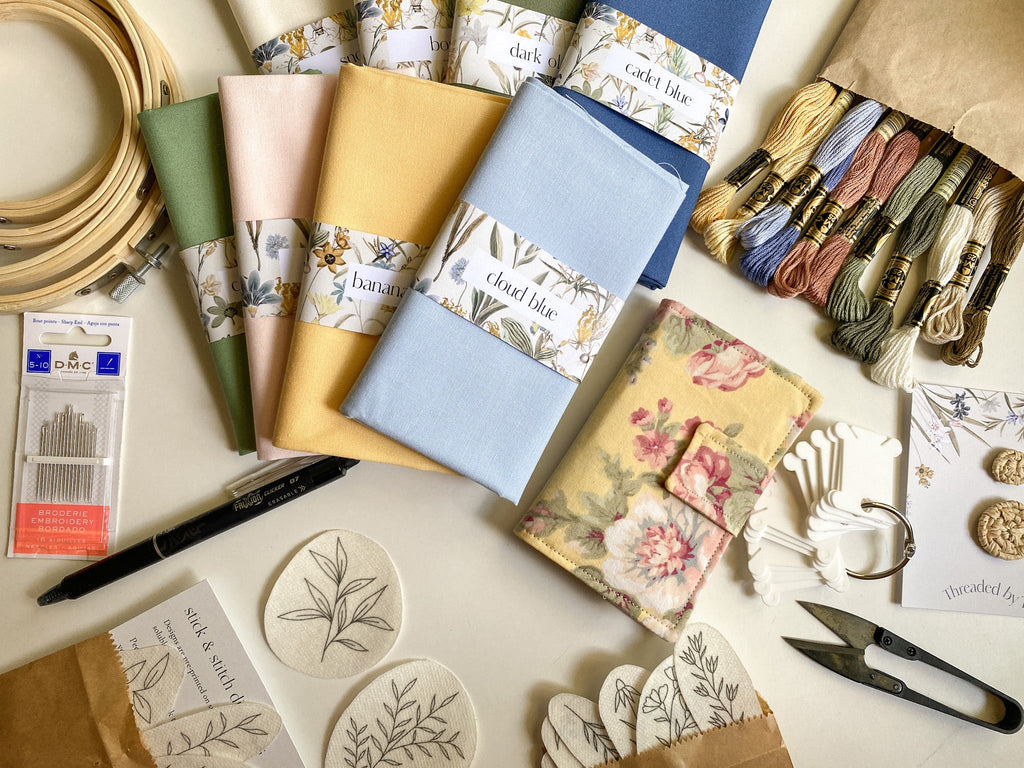
I hope this small breakdown can aid you in your journey to discovering the art of embroidery. I know beginning anything can be scary, and taking that first step is always the most difficult, so I’ve made it my mission to make embroidery accessible to everyone. You now have a shopping list if you’ll be making a trip to your local craft store; but if shopping isn’t your thing and you want to relieve yourself of any stress involved with finding everything on your own, I’ve also put together a collection of my favorite materials all bundled up in one kit so you’ll never have to leave your house!

The Embroidery Essentials Kit includes my very favorite embroidery hoops, assorted DMC embroidery floss plus some bobbins to store them on, a pair of thread snips, a heat erasable pen for transferring your patterns, a variety pack of DMC needles, AND neutral cotton fabric. But the most special part of this kit has to be my stitch sampler fabric! All my tutorials will be available on Instagram where you can access them at any point for as long as you need, and by the end of the video series, you’ll be able to sew 20 different introductory embroidery stitches! You’ll have the potential to create many future projects to come, but also the basic knowledge necessary to continue growing and expanding your talent!
Happy stitching!

Leave a comment